
This beautiful spring wreath is the perfect accessory to usher in the new season read more
Home / Make & Do

Creating the perfect Valentine’s Day grazing platter
Impress the one you love with this stunning platter read more
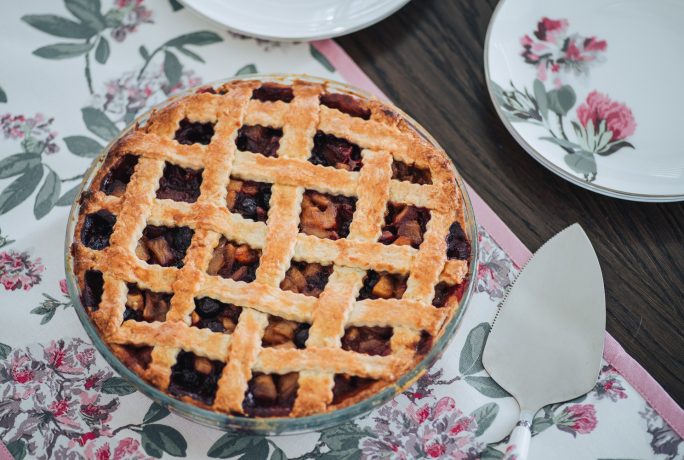
Delicious Apple and Blueberry Pie
This delicious Apple and Blueberry Pie is the perfect winter treat read more

Vegan Date Cashew and Coconut Granola Bars
Stick to your New Years Resolutions by giving yourself a boost with these delicious granola bars read more

Festive cookie wreath recipe
This festive cookie wreath is a delightful way to add a bit of festive fun to your Christmas table read more

Delicious Chocolate orange Christmas Pudding profiteroles
These adorable sweet treats are perfect for adding a festive touch to any Christmas table read more

How to create a stunning christmas window display
Dress your windows to impress this festive season read more

Festive Cranberry and Buttermilk Scones
Traditional, but with a festive spin, these Christmas scones are sure to satisfy all your yuletide cravings read more

Scrumptious Gingerbread Christmas cake
Stun your guests with this stunning gingerbread Christmas cake read more

Festive Yule Log Recipe
Keep the festive traditions of old alive this year with this scrumptious Yule Log recipe read more
Picks of the Week


Recent Pins


CONTACT US
